
Over half of American households use home fragrance products, yet many struggle to choose a reed diffuser that truly improves their space. Scent can dramatically impact mood and comfort, turning any room into a personal sanctuary with the right approach. By understanding how to select, assemble, and position a quality reed diffuser, you can achieve a consistent, welcoming aroma and a polished look that suits your style.
Table of Contents
- Step 1: Select The Best Reed Diffuser For Your Space
- Step 2: Prepare And Unbox Your Reed Diffuser Kit
- Step 3: Assemble The Diffuser And Insert The Reeds
- Step 4: Position The Diffuser For Optimal Scent Distribution
- Step 5: Monitor And Refresh The Reeds For Longevity
Quick Summary
| Key Point | Explanation |
|---|---|
| 1. Choose suitable fragrances for your space | Select lighter scents for small areas and more complex ones for larger rooms to enhance the ambiance effectively. |
| 2. Use natural oil-based diffusers for longevity | Oil-based diffusers provide gradual scent release, ensuring a more consistent and authentic aromatic experience. |
| 3. Position diffuser for optimal airflow | Place the diffuser in areas with gentle airflow, avoiding direct sunlight and drafts for best scent distribution. |
| 4. Flip reeds weekly to maintain fragrance | Regularly turning the reed sticks allows for even fragrance projection and prevents saturation, enhancing performance. |
| 5. Replace reeds and oil every few months | Swap out reeds every 2-3 months to maintain fragrance intensity and freshness in your home. |
Step 1: Select the Best Reed Diffuser for Your Space
Choosing the right reed diffuser transforms your home’s ambiance by strategically selecting a fragrance that complements your living environment. The perfect reed diffuser depends on understanding your space’s unique characteristics and your personal scent preferences.
Start by evaluating your room’s size and existing decor. Smaller spaces like bathrooms or home offices work best with lighter, more subtle fragrances such as fresh linen or soft cotton, while larger living areas can accommodate more complex scent profiles like sandalwood or vanilla. Reed diffusers offer versatile fragrance options that adapt seamlessly to different room dynamics.
Consider the reed diffuser’s base composition carefully. Most quality diffusers use either alcohol or oil-based formulas. Alcohol-based options provide faster scent dispersion but evaporate more quickly, whereas oil-based diffusers release fragrance more gradually and maintain consistent intensity. Pro tip: Select a diffuser with natural essential oils for a more authentic and longer-lasting aromatic experience.
Lastly, match your reed diffuser’s aesthetic to your interior design. Modern minimalist spaces might benefit from sleek glass containers with neutral colors, while rustic or bohemian rooms could incorporate more textured or decorative vessels. Your reed diffuser should not just smell amazing but also serve as a subtle decorative element that enhances your home’s overall visual harmony.
Step 2: Prepare and Unbox Your Reed Diffuser Kit
Unboxing your reed diffuser kit is an exciting first step toward creating a beautifully fragrant home environment. This process involves carefully handling your new diffuser to ensure optimal performance and aesthetic appeal.
Begin by finding a clean flat surface where you can spread out the contents of your diffuser set with ample room. Gently remove each component from the packaging checking for any included instructions or recommendations specific to your diffuser. Typically a standard kit includes the glass or ceramic vessel fragrance oil reed sticks and potentially a care guide.
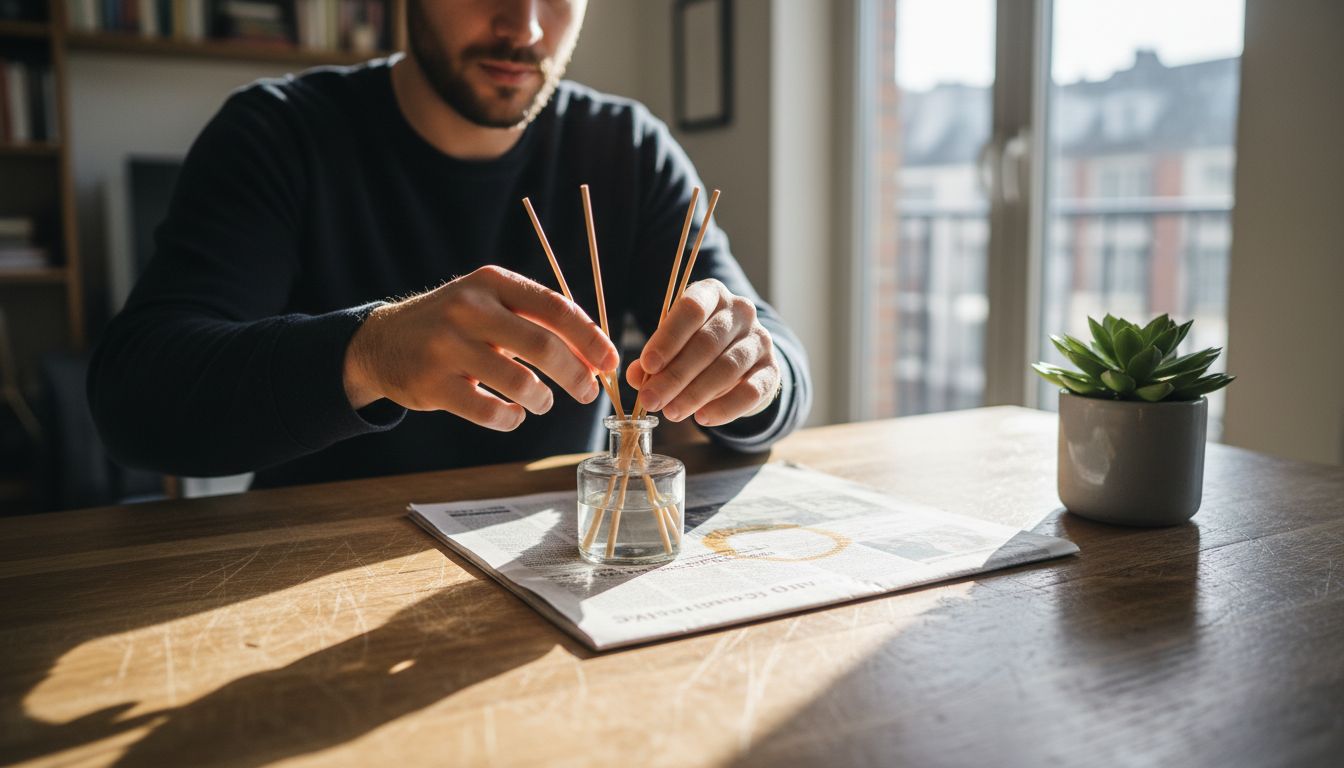
Carefully inspect the reed sticks before inserting them into the vessel. Most reeds are made from natural materials like rattan which absorb and distribute fragrance effectively. When first inserting the reeds place them into the fragrance oil and allow them to become saturated for approximately 30 minutes. Flip the reeds after initial saturation to ensure even fragrance distribution. Pro tip: Always handle reeds with clean hands to prevent oil contamination and maintain the purest scent possible.
Place your newly prepared reed diffuser in a location away from direct sunlight air vents and high traffic areas to maximize fragrance longevity. The ideal spot allows subtle air circulation without excessive drafts that could cause rapid evaporation. Your carefully unboxed and positioned reed diffuser will now begin transforming your space with a consistent gentle aroma.
Step 3: Assemble the Diffuser and Insert the Reeds
Assembling your reed diffuser is a delicate process that requires precision and care to ensure maximum fragrance performance. Your goal is to create a perfectly balanced aromatic system that will transform your living space with subtle sophistication.
Start by carefully examining the glass vessel or ceramic container included in your reed diffuser kit. Ensure the container is completely clean and dry before adding the fragrance oil. Slowly pour the oil into the vessel filling it approximately two thirds full to prevent potential spillage. Most diffuser sets include a recommended fill line or guidelines to help you achieve the perfect oil level.
Select your reed sticks and prepare them for optimal fragrance distribution. Natural rattan reeds work best as they have microscopic channels that effectively absorb and release fragrance. Gently insert the reeds into the oil keeping them evenly spaced to maximize air circulation. Pro tip: Initially place all reeds into the oil and let them saturate for about 30 minutes before flipping them to ensure consistent scent projection. This initial saturation allows the reeds to fully absorb the fragrance and begin releasing it throughout your space.
Position your newly assembled reed diffuser in a location with gentle air movement but away from direct sunlight windows or heating sources. The ideal placement allows subtle air circulation without causing rapid fragrance evaporation. Your carefully assembled diffuser will now begin its quiet transformation of your home’s atmosphere.
Step 4: Position the Diffuser for Optimal Scent Distribution
Choosing the perfect location for your reed diffuser can dramatically enhance its fragrance performance and transform your living space. Strategic positioning is key to creating a consistent and pleasant aromatic experience throughout your home.
Consider the airflow dynamics of your chosen room when placing the diffuser. Areas with gentle air movement like near a doorway or soft breeze from a window work best for fragrance diffusion. Avoid placing your diffuser directly in front of air conditioning vents heating units or strong drafts which can cause rapid scent evaporation and uneven fragrance distribution.
Room size and layout play crucial roles in scent projection. In smaller spaces like bathrooms or home offices select a central location where the fragrance can circulate evenly. For larger rooms position the diffuser in an area where people frequently move through or gather. Pro tip: Keep the diffuser away from direct sunlight and heat sources to prevent oil degradation and maintain the integrity of your chosen scent.
Remember that different areas of your home might require unique fragrance strategies. A calming lavender scent might work perfectly in a bedroom while a fresh citrus fragrance could energize a home office or kitchen space. Your carefully positioned reed diffuser will now begin its aromatic journey transforming your environment with subtle sophisticated scents.
Step 5: Monitor and Refresh the Reeds for Longevity
Maintaining your reed diffuser requires consistent attention to ensure continuous fragrance distribution and optimal performance. Regular monitoring and maintenance will help you maximize the lifespan and effectiveness of your aromatic home accessory.
Experts recommend flipping the reed sticks weekly to prevent fragrance saturation and promote even scent projection. Carefully remove the reeds and turn them completely so the dry end becomes immersed in the fragrance oil. This simple technique refreshes the reeds and helps redistribute the scent throughout your space. Pro tip: Always handle the reeds with clean hands to prevent oil contamination and maintain fragrance purity.
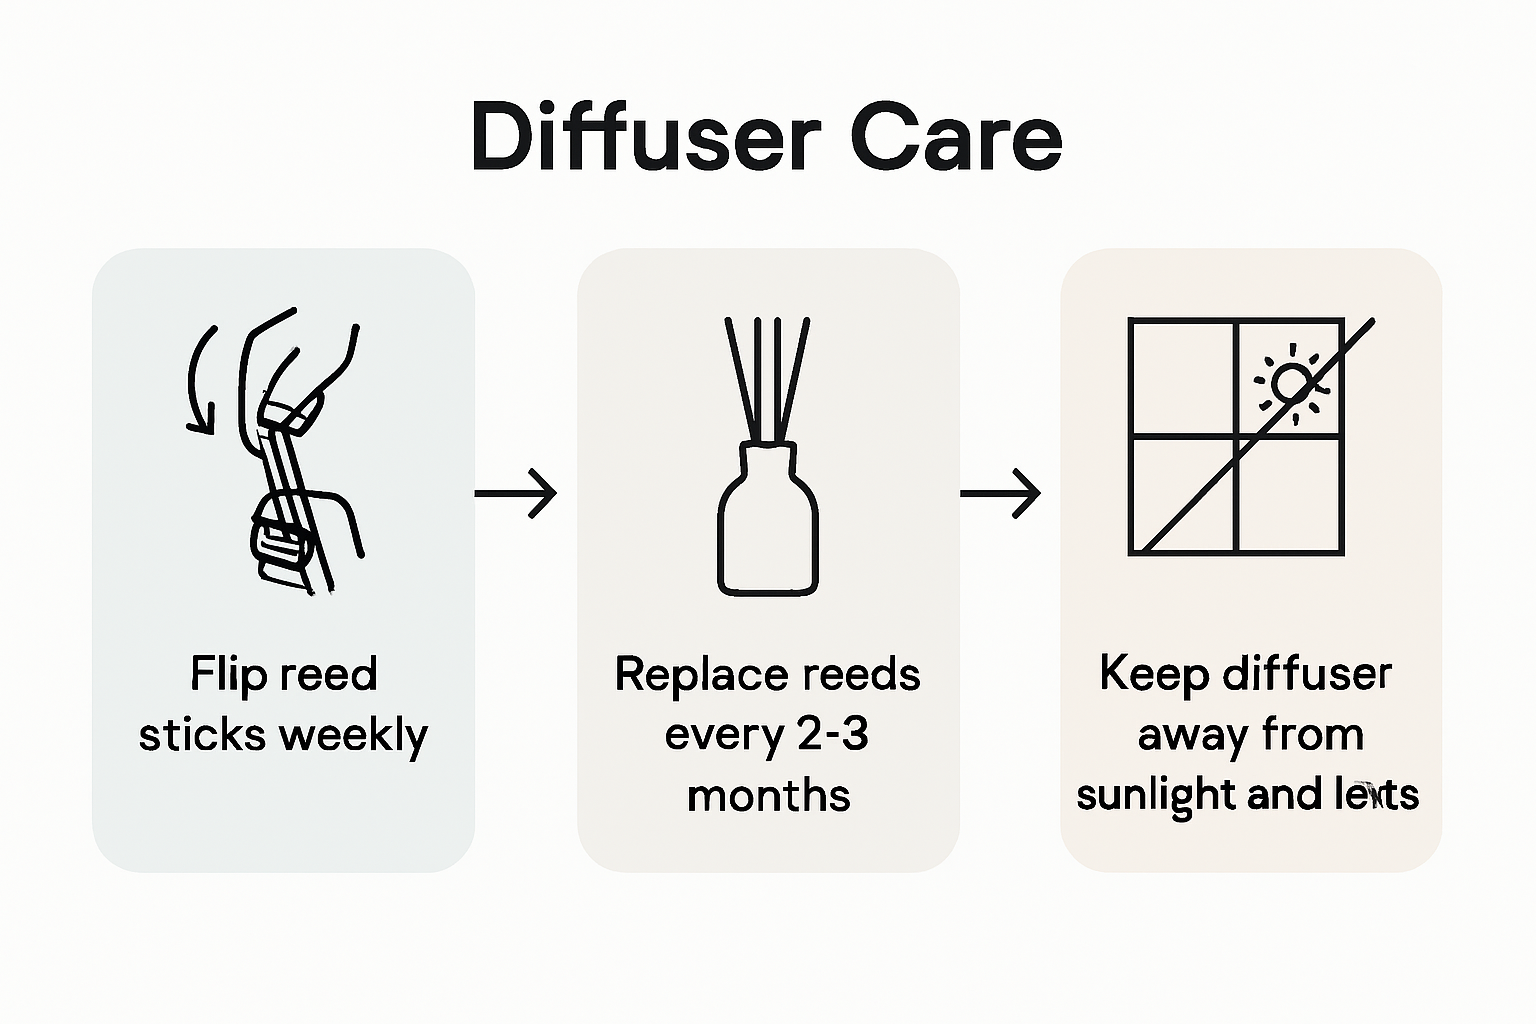
Pay attention to signs that your reed diffuser needs replacement. When you notice the fragrance becoming less intense or the reeds appearing dark and saturated it is time to replace them. Most reed diffusers perform optimally with fresh reed sticks every 2 to 3 months depending on room conditions and frequency of use. Consider keeping spare reed sticks in your home so you can quickly refresh your diffuser when needed.
Storage and environmental factors play crucial roles in reed diffuser maintenance. Keep your diffuser away from direct sunlight extreme temperatures and areas with high humidity to prevent premature oil evaporation. By consistently monitoring and refreshing your reed diffuser you will enjoy a continuously pleasant and sophisticated aromatic experience in your home.
Elevate Your Home Fragrance Experience with Aromel Scents
Struggling to find the perfect reed diffuser that provides lasting fragrance and fits seamlessly into your living space? At Aromel Scents, we understand how important it is to choose quality reed diffusers that offer consistent scent distribution and complement your home décor. Our extensive Reed Diffusers – Aromel collection features a wide range of carefully curated fragrances designed to meet your exact needs and elevate your ambiance effortlessly.

Explore our premium selections now and enjoy exclusive discounts alongside free shipping on orders over $50. Discover how easy it is to transform your home into a sanctuary of subtle sophistication. Visit Aromel Scents today and start creating your perfect aromatic atmosphere with our expertly crafted reed diffusers and related products from the Diffusers – Aromel collection. Don’t wait to bring lasting fragrance and elegance to your space.
Frequently Asked Questions
How do I choose the right reed diffuser for my space?
Selecting the right reed diffuser involves considering your room’s size and existing decor. For smaller spaces, opt for lighter fragrances like fresh linen, while larger areas can handle more complex scents like sandalwood. Aim to match fragrance intensity and style with the characteristics of your space.
What is the best way to prepare my reed diffuser before use?
To prepare your reed diffuser, start by unboxing the kit on a clean, flat surface. Carefully inspect each component, pour the fragrance oil into the vessel up to the recommended fill line, and let the reed sticks saturate for about 30 minutes before flipping them to ensure even scent distribution.
How can I position my reed diffuser for optimal fragrance distribution?
To enhance scent performance, place your reed diffuser in an area with gentle air circulation, like near a doorway but away from direct sunlight or heating sources. This positioning helps maintain consistent fragrance levels and prevents quick evaporation.
How often should I refresh or replace the reed sticks in my diffuser?
It’s recommended to flip the reed sticks weekly to refresh the fragrance and promote even distribution. Generally, you should replace the reeds every 2 to 3 months, or sooner if the scent weakens significantly.
What should I do if my reed diffuser’s scent is fading?
If you notice your reed diffuser’s scent fading, first flip the reeds to refresh the fragrance. If the scent remains weak after that, consider replacing the reeds, as they absorb oil over time and can become saturated, leading to diminished fragrance output.
Can I use different scents in one reed diffuser?
It’s not advisable to mix different scents in one reed diffuser, as this can create an unpleasant aroma. For the best results, stick to one scent per diffuser to maintain a harmonious and lasting fragrance experience.