
Over eighty percent of American homeowners admit that improper candle care has led to wasted wax or disappointing scent experiences. For anyone passionate about aromatherapy or maintaining a cozy living space, understanding how to care for luxury scented candles can make all the difference. These candle care steps offer practical guidance to help you create a welcoming ambiance and get the most out of every European or American candle in your collection.
Table of Contents
- Step 1: Prepare Your Candle and Space
- Step 2: Trim the Wick for Optimal Burning
- Step 3: Light the Candle and Monitor the Burn
- Step 4: Maintain Cleanliness and Storage
- Step 5: Check for Signs of Candle Wear
Quick Summary
| Key Insight | Explanation |
|---|---|
| 1. Choose a Safe Location | Place your candle on a level, stable surface away from drafts and flammable items to ensure safe burning. |
| 2. Trim the Wick Before Lighting | Always trim your wick to 1/4 inch before lighting to reduce soot and promote a clean burn. |
| 3. Monitor During Burning | Stay vigilant while your candle burns, watching for uneven flames or soot accumulation to prevent hazards. |
| 4. Maintain Cleanliness | Clean your candle after each use to avoid flare-ups and ensure optimal performance in future burn sessions. |
| 5. Check for Signs of Wear | Regularly inspect for indicators like tunneling or uneven flames to extend your candle’s lifespan and safety. |
Step 1: Prepare Your Candle and Space
Preparing your scented candle for an optimal burning experience requires careful attention to detail and strategic setup. Your goal is creating a safe, controlled environment that maximizes candle performance and minimizes potential safety risks.
Begin by selecting an appropriate location for your candle. Choose a stable, flat surface away from drafts, flammable materials, and high traffic areas. Candle care recommendations emphasize placing your candle on a dedicated heat-resistant surface like a ceramic plate or specialized candle holder. This prevents potential damage to furniture and provides an additional layer of safety. Ensure the surface is level to promote even burning and prevent wax pooling on one side of the container.
Before lighting, trim your candle’s wick to approximately 3mm using sharp scissors or a specialized wick trimmer. This critical step helps control flame height, reduces soot production, and prevents uneven burning. Always remove any trimmed wick pieces from the candle surface to maintain a clean burning environment.
Pro tip: Keep a small dedicated wick trimmer near your candle collection to make pre-burn maintenance quick and effortless.
Step 2: Trim the Wick for Optimal Burning
Mastering the art of wick trimming is crucial for achieving a clean, efficient, and safe candle burning experience. Proper wick maintenance directly impacts your candle’s performance, scent distribution, and overall longevity.
To ensure optimal burning, you’ll want to trim your candle’s wick to approximately 1/4 inch before each lighting. Proper wick maintenance prevents common issues like excessive smoking, uneven burning, and potential safety hazards. Use sharp scissors or a specialized wick trimmer to make a clean cut when the wax is completely solid. Always remove trimmed wick fragments from the candle’s surface to maintain a pristine burning environment.
Consistent wick trimming offers multiple benefits beyond appearance. It helps control flame height, reduces soot production, and prevents the dreaded mushroom shape that can develop at the wick’s tip. By maintaining the ideal wick length, you’ll ensure a steady, controlled flame that melts the wax evenly and maximizes your candle’s scent throw.
Pro tip: Keep a small pair of dedicated candle scissors next to your candle collection to make pre lighting wick maintenance quick and effortless.
Here’s a quick reference comparing common candle wick tools and their advantages:
| Tool Type | Precision | Ease of Use | Best Use Case |
|---|---|---|---|
| Scissors | Moderate | Widely available | Occasional wick trimming |
| Wick Trimmer | High | Easy to handle | Routine accurate trimming |
| Candle Scissors | Good | Specialized | Pre-lighting wick maintenance |
Step 3: Light the Candle and Monitor the Burn
Lighting a candle is an art that requires careful attention and mindful monitoring to ensure a safe and enjoyable experience. Your goal is to create a controlled burning environment that maximizes both safety and sensory pleasure.
Safe candle burning practices emphasize the importance of creating a stable foundation before ignition. Use long matches or a long lighter to light the wick, keeping your hand steady and maintaining a safe distance. Aim to light the candle from the base of the wick for a consistent initial flame. During the first burn, allow the wax to melt completely across the surface to prevent tunneling and ensure an even future burn. This initial session should last no longer than four hours, giving you ample time to observe the flame’s behavior and candle performance.
While the candle burns, remain vigilant about its environment. Position the candle away from drafts, flammable materials, and high traffic areas. Keep the flame steady and watch for any signs of uneven burning or excessive smoking. Always place the candle on a heat resistant surface and never leave it unattended. When you need to extinguish the flame, use a candle snuffer instead of blowing to prevent wax splatter and maintain the wick’s integrity.
Pro tip: Create a simple candle log to track burn times, performance, and any unique characteristics of each candle in your collection.
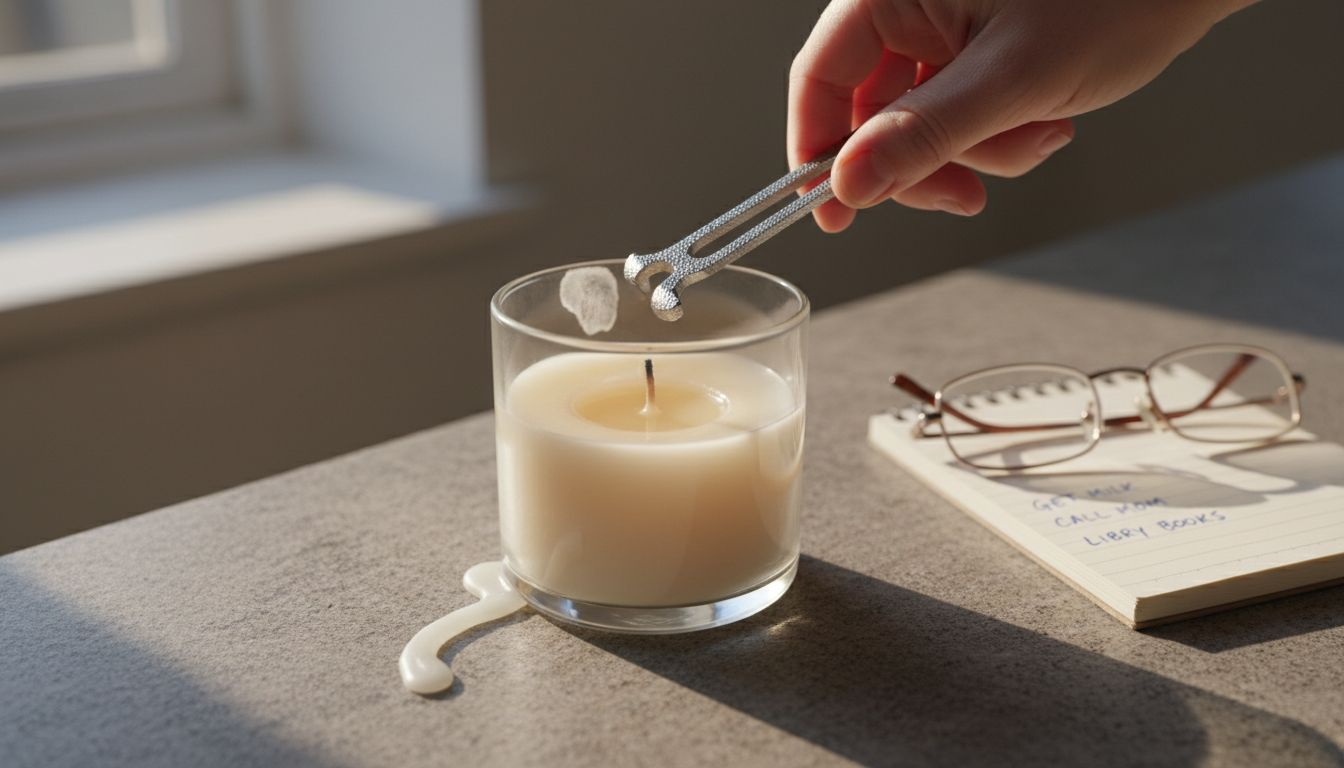
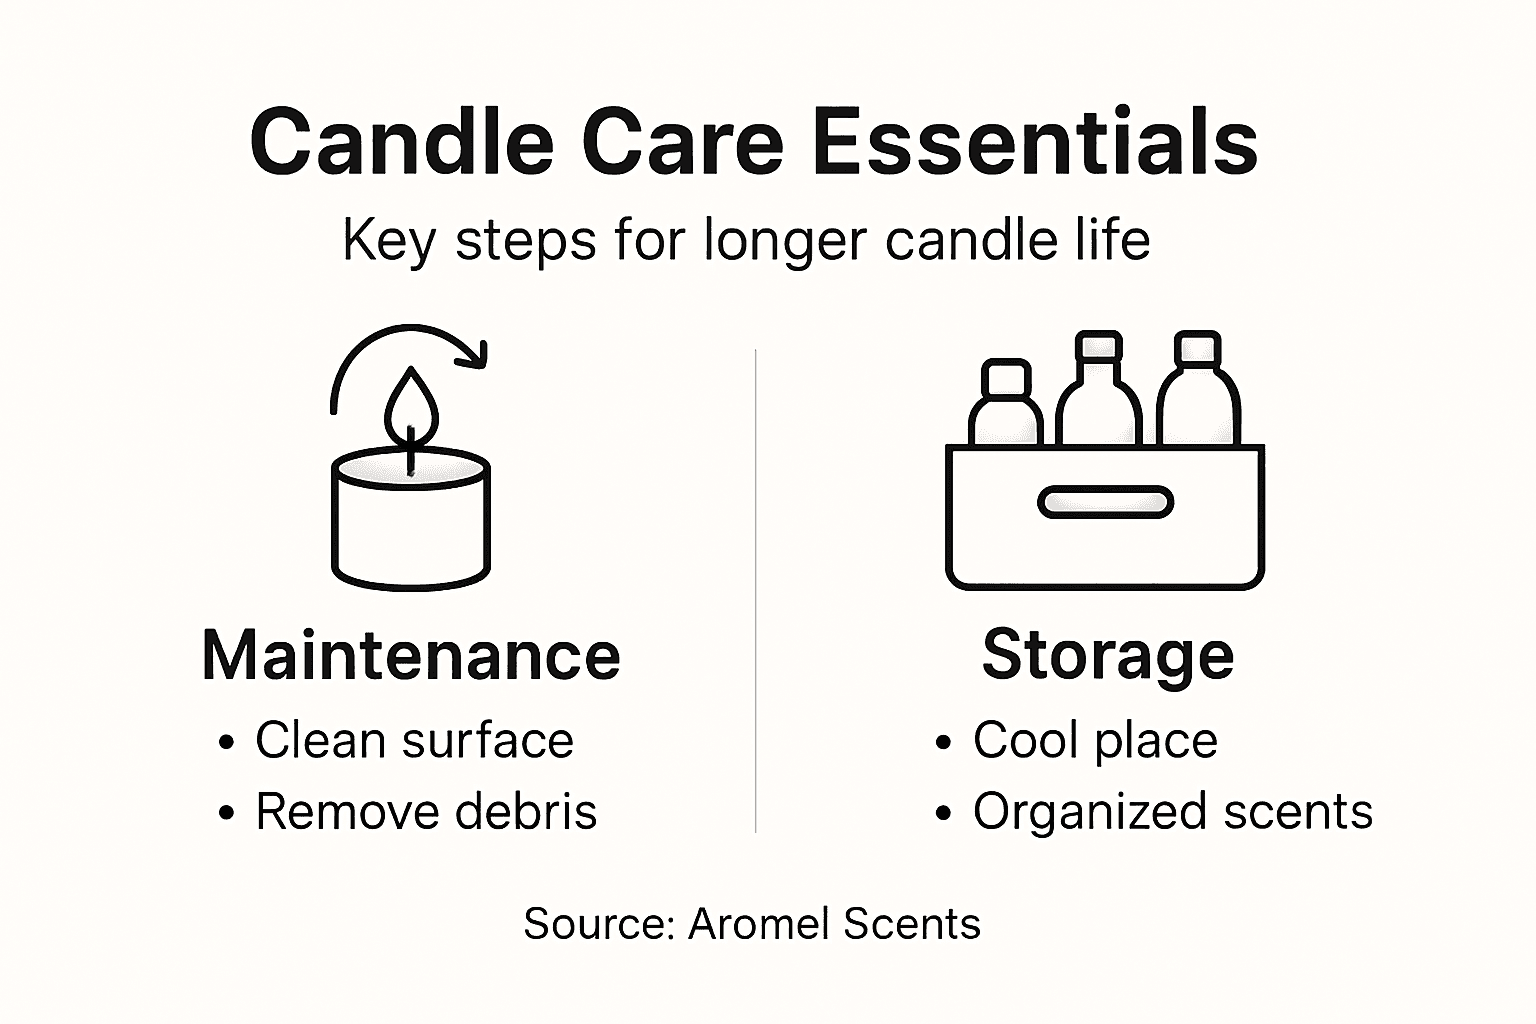
Step 4: Maintain Cleanliness and Storage
Preserving your candles requires thoughtful maintenance and strategic storage to ensure their longevity, appearance, and performance. Your ultimate goal is protecting these delicate fragrance vessels from environmental damage and preserving their original quality.
Expert candle maintenance techniques recommend keeping your candles in pristine condition through careful handling and storage. Store your candles upright in a cool, dry location away from direct sunlight to prevent color fading and scent degradation. Avoid storing candles in areas with extreme temperature fluctuations or high humidity, which can cause warping or compromised wax structure. Gently dust candle surfaces with a soft, lint free cloth to remove accumulated particles without scratching delicate containers or wax surfaces.
Cleanliness plays a crucial role in candle preservation. After each burning session, remove wick trimmings and any debris from the wax pool to prevent potential flare-ups and maintain a clean burning environment. Clean candle containers thoroughly using warm water and mild soap, ensuring they are completely dry before storing. Consider using protective dust covers or storing candles in their original packaging to shield them from environmental contaminants and maintain their pristine appearance.
Pro tip: Organize your candle collection by grouping similar scents and tracking their burn history to optimize your storage strategy.
Step 5: Check for Signs of Candle Wear
Evaluating the health of your candle is an essential practice that ensures optimal performance, safety, and longevity. Understanding the subtle indicators of candle wear can help you prevent potential burning issues and extend your candle’s usable life.
Candle performance indicators reveal several key signs that suggest your candle needs attention. Watch for uneven flames that dance erratically or flicker excessively, which often signal underlying burning problems. Black smoke or soot accumulation around the container indicates improper burning conditions or an overly long wick. Pay special attention to the wick’s shape check for a distinctive mushroom-like formation at the flame tip, which suggests it is time for immediate trimming.
Tunneling represents another critical warning sign where only the center of the candle melts during burning leaving unused wax around the container edges. This phenomenon typically results from inadequate initial burn cycles or consistently short burning sessions. To address tunneling, allow your candle to create a full wax pool during each burning session extending to the container’s edges. Regularly inspect your candles surface for signs of cracking, discoloration, or unexpected texture changes that might compromise its burning quality and overall performance.
This table summarizes key warning signs of candle wear and their recommended solutions:
| Warning Sign | Description | Solution |
|---|---|---|
| Uneven flame | Flame flickers or dances erratically | Trim wick, check environment |
| Black soot/smoke | Dark residue around candle container | Shorten wick, improve ventilation |
| Tunneling | Wax melts only in center | Burn until full wax pool forms |
| Cracking/discoloration | Surface changes or dull appearance | Store in cool, dry place |
Pro tip: Keep a small notebook near your candle collection to document burn times, performance observations, and any unusual characteristics.
Elevate Your Candle Experience with Aromel Scents
Caring for your scented candles means more than just trimming the wick and choosing the right spot. It is about preserving the fragrance and maximizing every burning moment to create a cozy, inviting atmosphere. At Aromel Scents, we understand your goal to extend the life and performance of your candles while maintaining their scent strength and safety. With our expertly crafted Candles – Aromel collection, you can discover premium candles designed to burn evenly and fill your space with long-lasting aroma.

Unlock the full potential of your candle care routine by exploring our diverse range of scents and bundles that make perfect companions for your candle maintenance habits. Take advantage of our free shipping on orders over $50 and special discounts to enhance your ambiance today. Start creating memorable moments with Aromel Scents by visiting our Bundles – Aromel and enjoy expert fragrance solutions crafted for your home. Experience it now at https://aromelscents.com.
Frequently Asked Questions
How can I prepare my candle for optimal burning?
Properly preparing your candle involves choosing a stable, flat surface away from drafts and flammable materials. Make sure to place it on a heat-resistant surface and trim the wick to about 3mm before lighting to promote even burning and reduce soot.
What is the best wick length for my candle before lighting?
Trim your candle’s wick to approximately 1/4 inch before each use. This helps maintain a steady flame height and improves scent throw, preventing common issues like excessive smoking and uneven burning.
How should I monitor my candle while it burns?
Keep an eye on your candle while it burns to ensure safety and performance. Look for signs like even flames and minimal smoke; if you notice flickering or black soot, extinguish the flame and trim the wick before relighting.
What steps can I take to maintain cleanliness and preserve my candles?
To maintain your candles, store them upright in a cool, dry place away from direct sunlight, and dust them regularly with a soft cloth. After each use, remove wick trimmings and clean the container to prevent any buildup that could affect future burns.
What signs indicate my candle needs attention or replacement?
Watch for indicators like an uneven flame, black soot accumulation, or tunneling, where the wax only melts in the center. If you see these signs, ensure you trim the wick, improve ventilation, and allow the candle to burn long enough to create a full wax pool next time.
How can I effectively store my candles to extend their lifespan?
Store your candles in a cool, dry location away from extreme temperatures and humidity to avoid damage. Use protective dust covers or keep them in their original packaging to maintain their appearance and fragrance.